http://forums.nicoclub.com/aftermarket- ... 17465.html
This is my first write-up, so bare with me! If there's anything I missed out, or need to add anything, let me know. Please comment, criticize, give your opinions.
Tools Needed
-Torque Wrench
-Electric/Air ImpactGun/Wrench
-Hammer
-Flathead
-Common size sockets and wrenches of various sizes
-Medium sized tap or large screw driver (my large pry bar did the trick)
-Brake Cleaner
-Scotchbrite
-Gasket Scraper
-Gear Marker
-ThreadLocker
-Drain pan
-Cheap thick gear oil with Motorcraft Additive Friction Modifier (Provided by FRSport.com)
-Block of wood
-1 or more friends
Step 1
Prep the area with a long, clean, working table, with a clean table cover (large sheet of heavy duty plastic will do).
-Jack up the Car
-Drain the differential fluid
-Once drained, place the transmission in gear and make sure e-brake is engaged. Unbolt driveshaft from differential. 4 bolts 12 or 14mm.
-Remove sway bar and lower your exhaust by removing it off the hanger. (Makes your life easier.)
-There are 2 17mm bolts holding the differential to the underside of the car. Loosen those two bolts, do not fully remove.
-Remove (4) 17mm bolts from back of differential.
-Before lowering the differential try to move the axles out of the way.
-Now when you're ready take off the two 17mm bolts you had loosened and carefully lower the differential with the jack.
Step 2
Bring your differential over to your working station.
-Remove differential cover by unbolting with a 14mm ratchet in a criss-cross pattern.

What it looks like once it's revealed.

-Mark the axle shaft accordingly which side it came from.

-Now carefully, bang off the axle shaft with a hammer without hitting the ring gear.
-Once the axle shaft is off, place them on the clean table. You could put them on the side accordingly to where they came off on the table.
Step 3
-Remove bearing cap bolts and bearing cap. Have a friend hold down the differential.

-Keep the bearing caps accordingly to which side and direction it came from.
Step 4
-You can use a wrench or a pry bar, to remove the open differential. I used the wrench and hit one end with a hammer to pry it out.


What it looks like once it's removed.
-Be very careful, once the differential is out. Keep the Spacers according to its exact order and side.
Step 5
-With a hammer and flathead, chisel away the old gasket. I recommend to use Gasket Scraper, to avoid any seal failure.


-Do the same on the differential cover. Use Scotchbrite to remove the remaining gasket on the cover and differential.
Step 6
-Spray the inside of the pumpkin with Brake Cleaner and clean the inside the pumpkin, and on the differential cover. Dirt is your worst enemy…

Step 7
-Remove the ring gear from the open differential by unbolting the bolts with an impact gun. Have your friend hold down the open differential.


Now you can start working on your new differential!
Step 8
-With the ThreadLocker, squeeze some on the ring gear bolts.


-Place Ring Gear on, and bolt in a criss-cross pattern (98-112ft lbs tq.)
Step 9
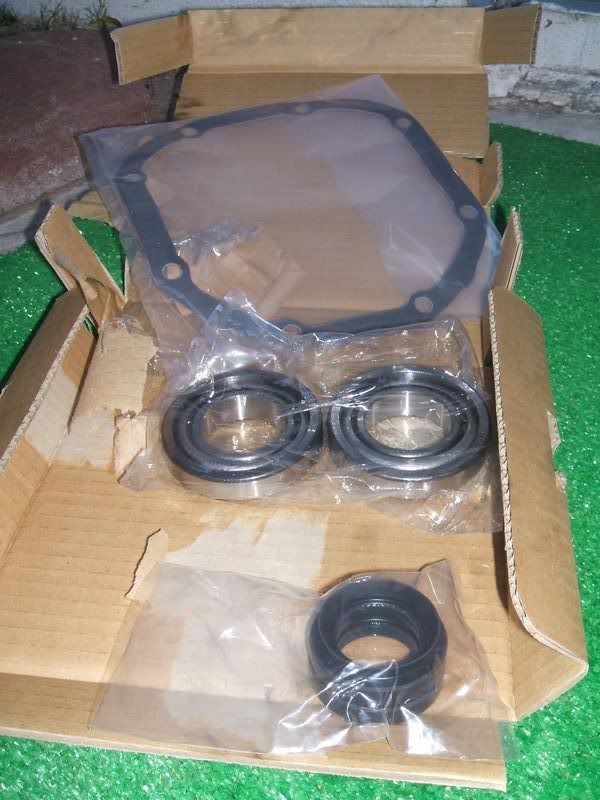
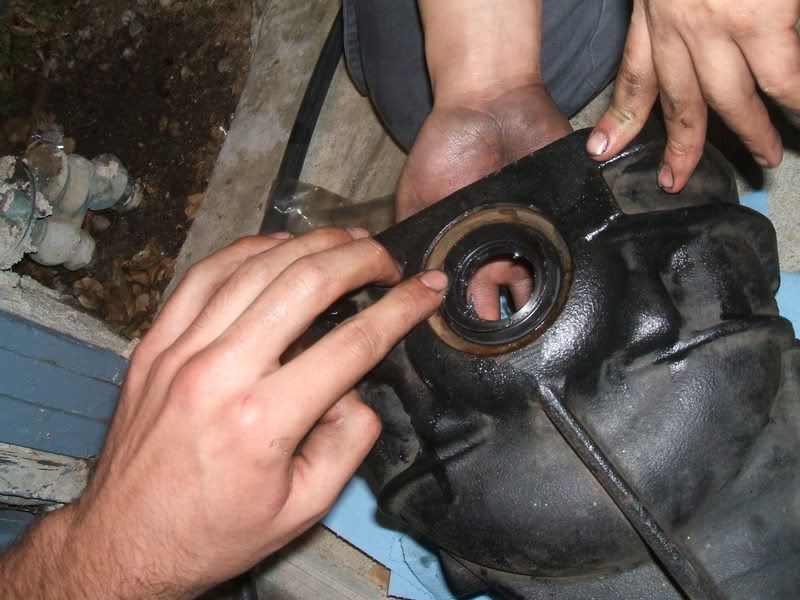
-Tomei came with axle shaft seals; so, remove old seals by hammering it out with a flat head.
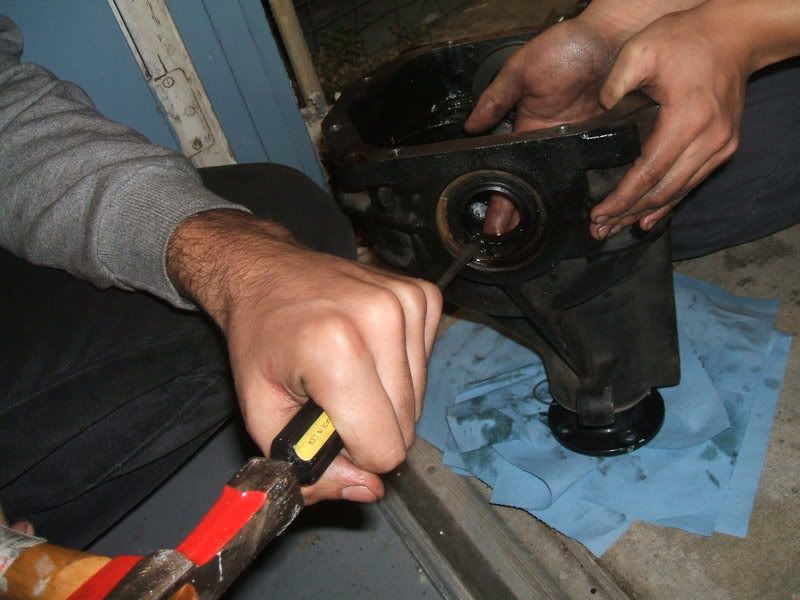
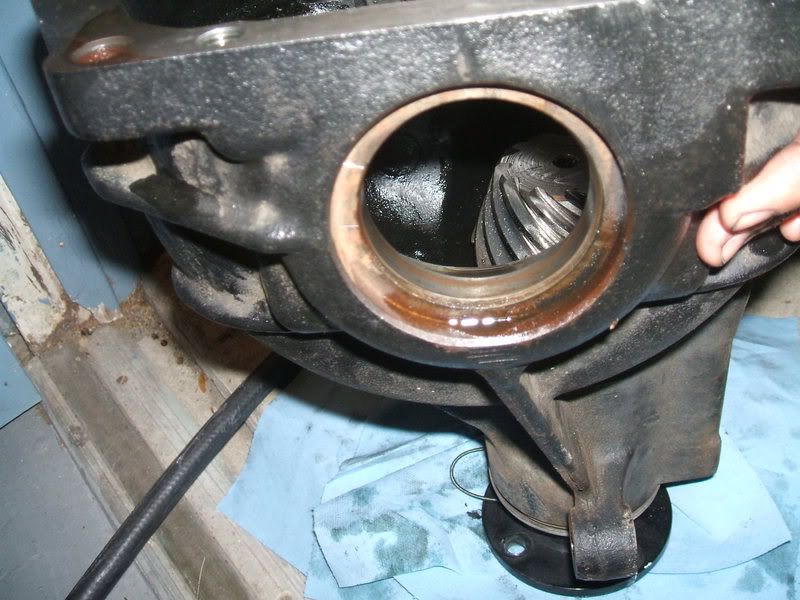
What it looks like once it's out.
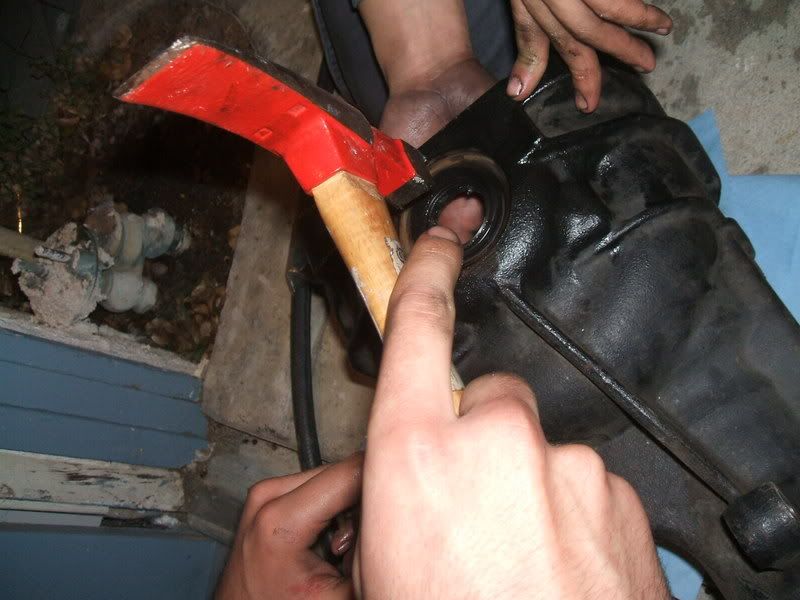
-Hammer gently in new axle seals. I recommend using something flat to put in between hammer and seals, like a piece of wood, to hammer it in
evenly.
Step 10
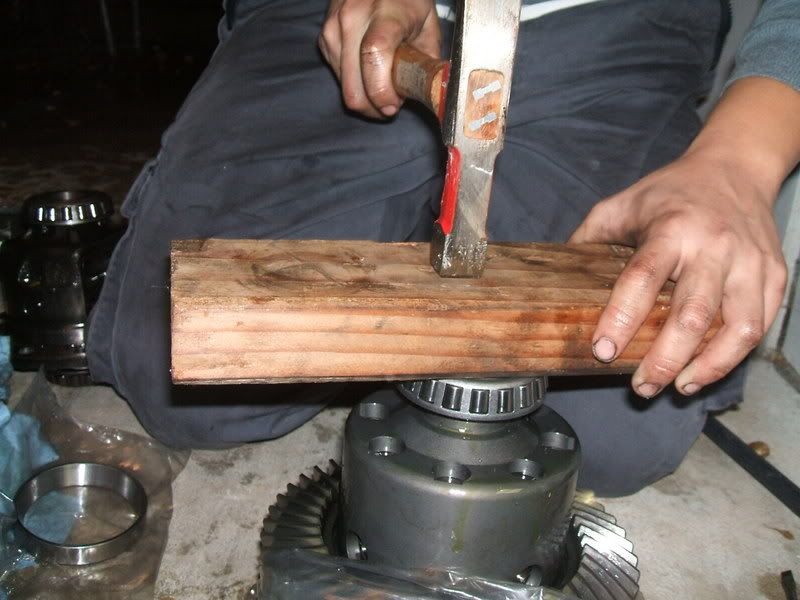
-With a hammer and a piece of wood, hammer in evenly the new bearing onto the new differential.
Step 11
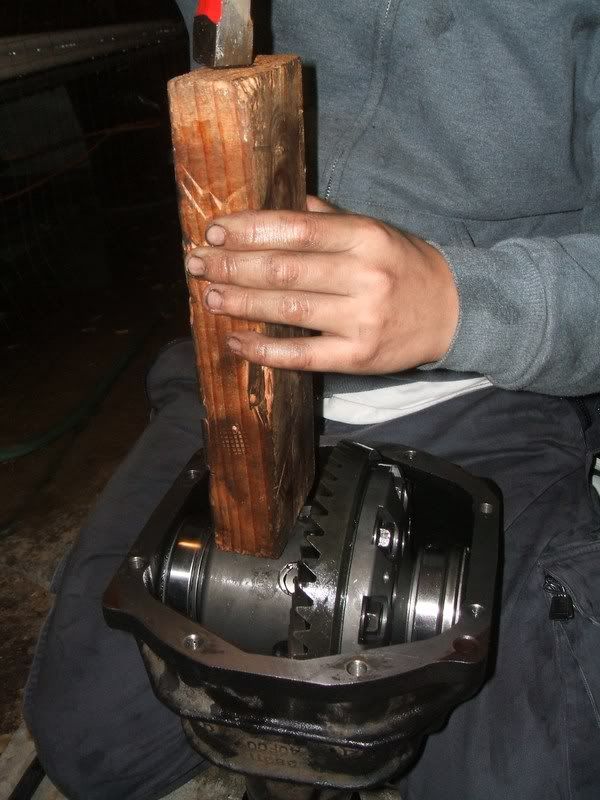
-Your new differential is ready to go in the pumpkin. Put in the new differential, along with the new spacers provided with your new differential, and your ring spacer you saved previously. Put in the spacers accordingly to its side.
-What I did to put in the differential all the way in is by hammering the piece of wood, without damaging the new differential. Make sure it goes in EVENLY. Spacers tend to tilt and move on their own. All has to go in evenly. Becareful not to hit the ring gear.
Step 12
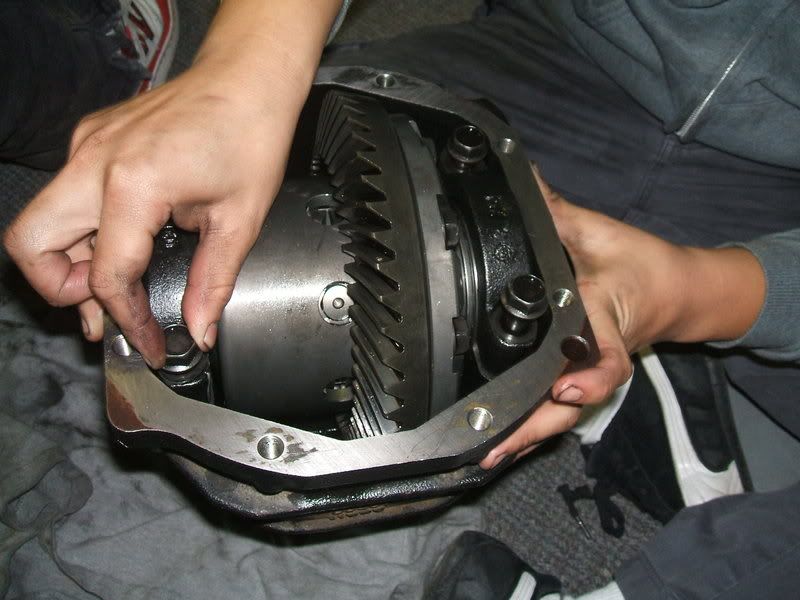
-Place bearing cap back on, accordingly to its side. Bolt it back in with 65-72ft lbs tq.
Step 13
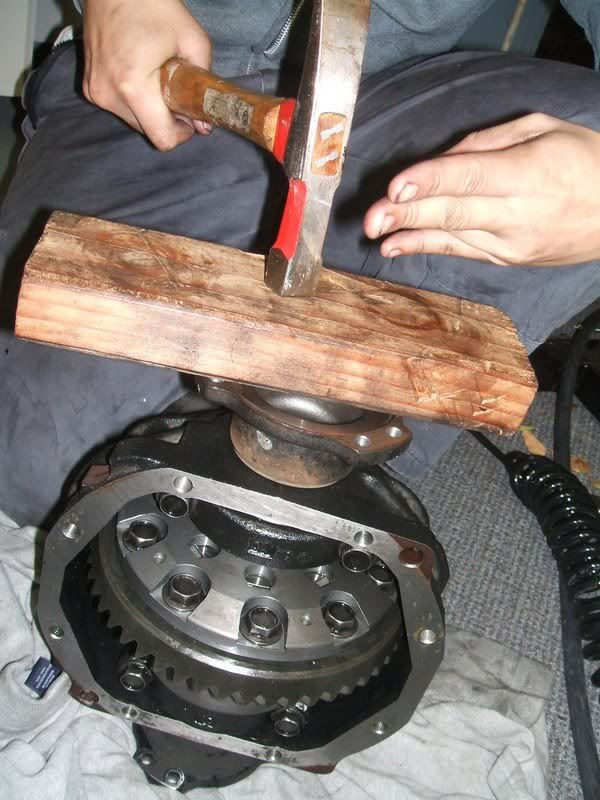
-Hammer in the axle shaft with a piece of wood in between, accordingly to which side it came from.
Step 14
-Place gear marker on the face of the ring gear. Rotate the shaft a few times so that it hits the marker. Make sure it hits dead on, center, of the ring gear. If it doesn't, you would need to buy adjusting shims of certain sizes to move the differential either left or right.
Step 15
-Place new gasket.
-Bolt back on your differential cover in a criss-cross pattern. 12-17ft lbs tq.
-Fill the differential with Friction Modifier and cheap thick gear oil.
Differential ready to go back in!
Step 16
-Jack up your differential back into your car.
-Bolt back up your differential the same way you taken it out.
ALMOST DONE!
Break-In Procedure
-Find an empty parking lot.
-Do Figure 8 in the parking lot. Go about 10 mph on the straight away, and clutch in around the turn. When you get back on the straight away, release clutch pedal and get back up to 10 mph. Do this for 30 minutes.
-Once 30 minutes is up, bring it back home and change fluid with the fluid your differential came with.
-Lastly, drive for 60 miles, not exceeding the 40 mph speed limit.
My Story: LSD works like a champ. It locks in perfectly and nicely. During my installation, it started to pour, so make sure you pick out the perfect day to install it. Took us 10 hours for the whole process, including break-in procedure. Special thanks to FRSport.com.
Have fun and drive safely!
-Derrick
Ca va m'être bien pratique ce week-end tient


